
The Apache web server is the most popular open-source server which is available on the majority of operating systems, including Linux, Windows, Mac OS, and Solaris. this article will explain how to install and configure the Apache web server on Ubuntu operating system.
Install Apache Web Server
- Before installing any new software, it is always a good idea to update your software package lists.
sudo apt update- Next in this step, we will install Apache2 web server. For this, execute the below command in Terminal:
sudo apt install apache2- Once installed, verify the version of the Apache server as follows:
apache2 -versionFirewall configuration:
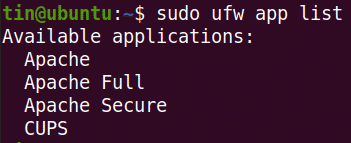
We will use the highly restrictive profile ‘Apache’ to enable network ctivity on port 80.
sudo ufw allow ‘Apache’Now check the status which will show Apache allowed in firewall.
sudo ufw statuslet’s make sure Apache is up and running by checking the status of our apache2 service.
sudo systemctl status apache2


Leave a comment